May 31, 2009

Rewind

Since the Quilt Festival I have made lots of new friends - so fun! One in particular is Kelly. She is a shop owner and quilter - and recently asked friends of her blog send in pictures of quilts, and the story to go with it, to post on her blog. Here is my entry -


"Quilt Full of Love

I'm excited to share the quilt I made for Ella a few years ago. It was made with a lot of love - 99 hearts in all! I worked on this quilt for months, at the time I was pregnant with our 4th and had yet to make a quilt for our oldest. Baby quilts are easier and faster :) I made this quilt with a valentine's fabric collection, Hearts Aflutter by Sandy Gervais. I had a plan and it changed a lot while I was piecing all the blocks. In the end I have 6" hearts sashed and framed! Ella loves her quilt and proudly shows it off whenever possible - that does my heart a lot of good!"


You can check out the other entries here :)

I think this quilt was the beginning of my creative therapy, all the more reason to love it! I did post about it, and a few others, when I first started my blog last year - thus the post title - Rewind :)

Amy


-----

Subscribe to Park City Girl

May 30, 2009

Quilt-along

It's not too late to join in the fun - Dana's quilt-along is perfect for those of you wanting to learn to quilt! In week two we cut our fabrics into strips getting them ready to sew next week. Here's my piles:
cut for quilt-along --- check!
I'm so in love with this beautiful fabric! It was a little hard to cut it up but I know the end result will be sooo worth it :)

The flickr group has some great pictures of everyone's fabric selections and discussion to help answer all your questions. Like I said great for a beginner :)

Amy


-----

Subscribe to Park City Girl

May 29, 2009

New Cut!

I've been cracking up with all the comments I've had the last few days! A few of them really are plain gross too - next time I may think a little harder about the sort of comments I ask for :) I was hoping to not get bored - that's all!

Today I finally managed to get a haircut - I've been overdue for a couple of months. It feels really nice to have it all cut off again! I'm not at all attached - can you tell?
Yes, I know there's root's in there - I'd rather buy my color in a box and spend the rest on fabric - Thank you! At least you can't see most of the gray right now :) A fun bob to get me through the coming summer. **Question for anyone that is a beautician - why do some seem to be anti thinning with a razor?? My hair needs it, the thinning shears only thin the ends- it seems. I'm mostly curious :)

Ella had her last day of third grade today, on the way this morning she told me she didn't want it to be the last day. She misses her friends during the summer. I'm looking forward to getting outside with the kids and having fun! Last year Owen was just 1 and a good napper - I'm just beginning to see the benefits of not having a baby around anymore. Now to get him out of diapers . . .


I took a bunch of self-portraits, and I'm thinking this will be in my profile for a while.

Happy Weekend ~
Amy

PS - I haven't gotten any cutting/sewing done yet this week! I've been busy looking through all the giveaways and keeping up with the kids :) I think today is the day!


-----

Subscribe to Park City Girl

May 27, 2009

Giveaway Day!


The lovely ladies at Sew, Mama, Sew have done it again! Visit the Sew, Mama, Sew blog to find the launch point to many amazing giveaways - I know I will be :)


I am giving away this bag! Everyone loves a bag, or knows someone who does! This bag is all fabulous Wonderland fabrics. If you are new here - you will notice lots of Wonderland :)
It is made with interfacing and batting, quilted to give it the yummy texture, and comfortable to carry. Unless of course you overstuff it! I never do that :)

It's loaded with pockets too! phone, sunglasses, pens . . . however you like!


**To win this gem, leave me a comment, and if you dare - tell me the most random, funny, or gross item found in your purse, or pocket if you don't carry a purse. Fun times!

The comments will be open through May 31st and I will announce a (random number) winner on June 1. Please make sure your email is visible in your blogger profile!! I need to get in touch with you :)

Thanks for stopping by & good luck to you!
Amy


-----

Subscribe to Park City Girl


May 26, 2009

A Notion or Two - May

May is almost over! Can you believe it?

May for Mommymae!

Jenny asked for a modern block for her boy. I had been thinking how I could play with an hourglass block and then found a picture of wall molding that caught my eye. And so I interpreted it for fabric and the fabrics made it playful!


On a completely different note -- Mr. Linky has been having technical difficulties. A few of you have commented that the links are gone, but by the time I get there they are back. . . I realized I could export the list and take it off of their server! DUH :) So now they are permanent fixtures/links on my quilt festival post! Click away my friends :)

I'm participating in Sew Mama Sew's giveaway day tomorrow . . . I need to get busy!
Amy

May 25, 2009

Evidence of a Great Weekend!

I hope that you all had a great weekend, near or far! I have lots of pictures to prove my weekend was a blast!

Coldstone icecream cake--

Owen eating it --

Outside on the new patio--

Owen eating the dirt--


From my little vegetable patch - I know most in the US are already eating from their gardens or getting really close! Here in the mountains if I plant too early the frost gets it - this is the usual weekend for the seeds to go in! They were planted today :)


Joe and I got to go out for dinner on Saturday -- we had a great night on our own. And look what I found while browsing Barnes & Noble! Love all the eye candy in this book.
I finally have my own copy!

By birthday fabric! You guessed it :)
My Quilt-along fabrics
I'm hoping to make a summer quilt for our bed, through Dana's quilt-along!

That's all for now - this is our last week of school and it's a full week!
Blessings -
Amy

May 22, 2009

Tutorial -- Quilted Bible Cover

Before we get started - today's my birthday! I'm 32 years young, and I bought my own present! Any guesses?? Don't think to hard :)

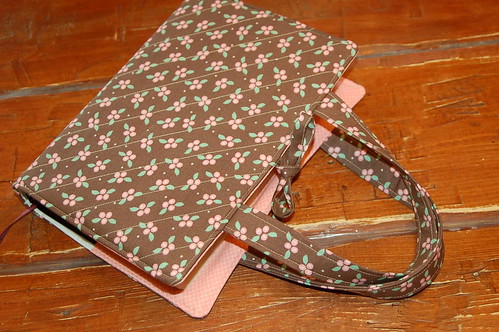
This is what we are making to celebrate my day!
Tutorial - Quilted Bible Cover
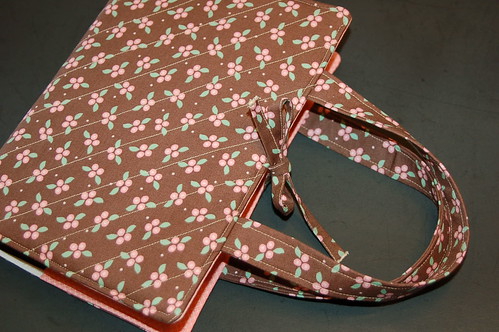
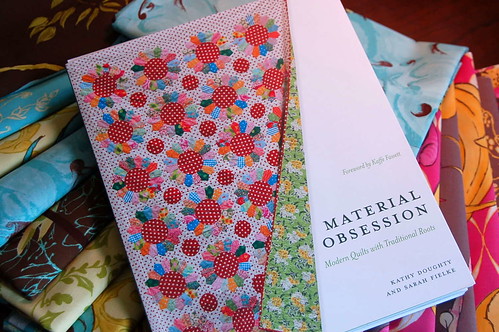
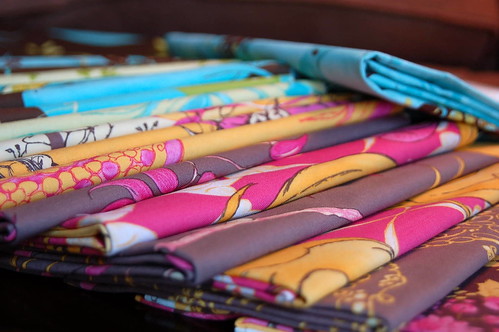
Simple and easily personalized for anyone on your gift list, but don't forget to make one for yourself too! To start gather your materials -

DSC_0015
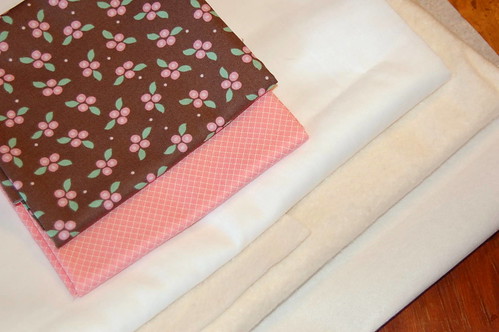
I used two fat quarters and a bit of white for the lining, (you could use a third fat quarter) batting and interfacing. For notions you will need your pins, cutting mat, ruler, rotary cutter, iron/ironing board, and a fresh needle in the sewing machine.

DSC_0018
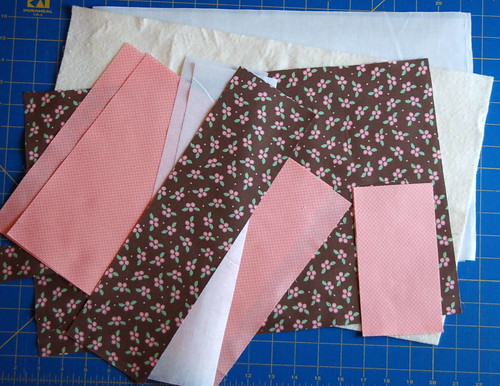
Get everything cut in the beginning then it goes together pretty quickly.
From your exterior fabric cut -
12 x 18" 2 - 4 x 14" 1 - 1.5 x 18"
Interior fabric cut - 2 - 11.25 x 10" 2 - 6.5 x 3.5"
Lining fabric cut - 11.25 x 17"
Batting cut - 12 x 18"
Interfacing cut - 11 x 16.5" 2 - 4 x 14"

Math Interlude:
My Bible measures 14 3/4" (full width of cover) by 9 5/8". This is a common size, but not the only size Bible - please take a few minutes to measure your closed Bible before getting started. If your Bible is a different size pull out the calculator :)

For example --
12.5 x 8"
multiply 12.5 by 1.2 = 15
multiply 8 by 1.2 = 9.6 I would probably go with 9.5

I came up with the 1.2 after crunching numbers to add seam allowance and room for bulk, I wanted to know that my crunching was similar for the width and height. If you are altering the measurements please note that I cut the exterior piece larger than needed and trimmed it down after quilting.

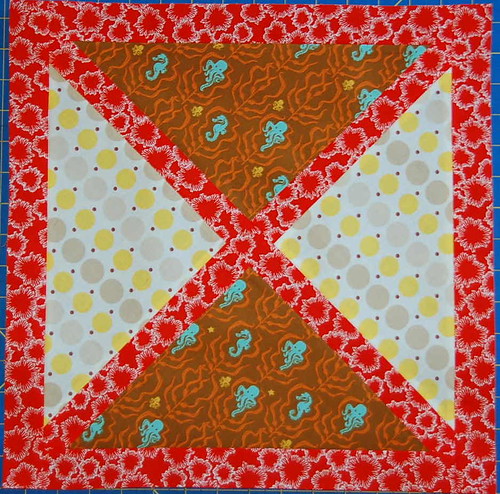
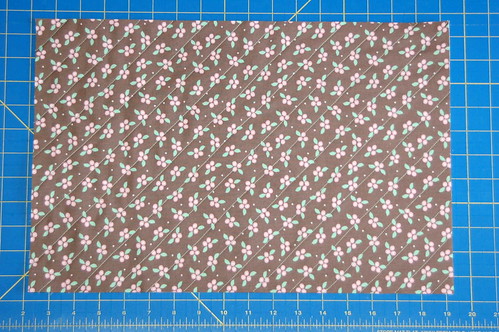
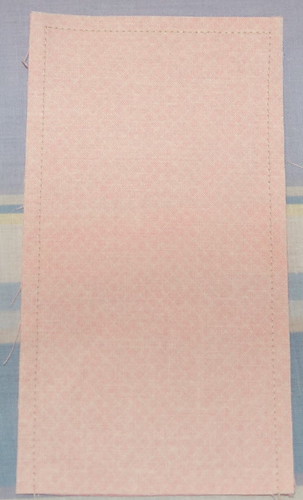
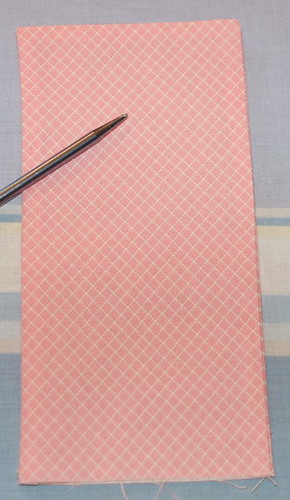
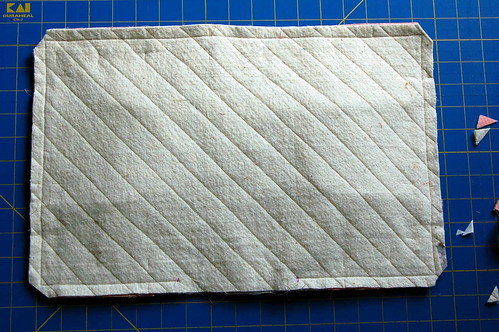
Back to the fun stuff! Time to quilt your exterior piece, however you desire! This one has been diagonally quilted in one inch intervals
DSC_0019
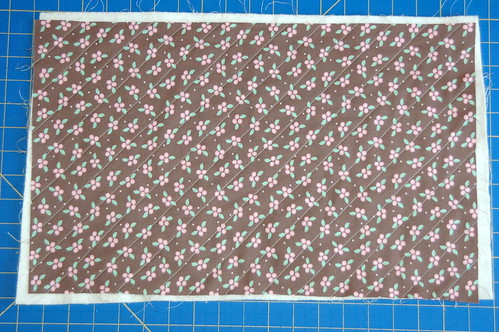
I used my ruler with a 45 degree line to mark my piece.
DSC_0021
After quilting trim the exterior piece to 11.25 x 17"
DSC_0022

Handles and ties--
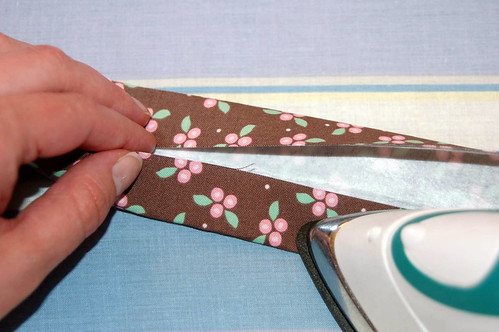
Add interfacing to your handles, 4 x 14" pieces, then fold it in half and iron a crease.
DSC_0026
Open the fold and iron both sides into the center,
DSC_0027
keep your center crease sharp while pressing the sides in.
DSC_0028

Use the same method to make the tie.
DSC_0025

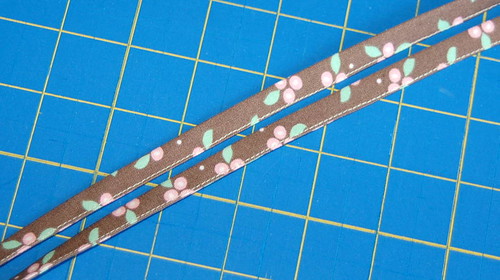
Back to the machine to topstitch -
DSC_0029

The completed handles -
DSC_0031

And ties -
DSC_0032
I treated the ties as one until now, cut them in half for two, and on one end of each finish the raw edge. I zig-zagged over the edge, like so.
DSC_0042

The pen pocket --
DSC_0033
Sew around three of the four sides, leaving the bottom open to turn it right side out, stitch 1/4" seam.
DSC_0034
Clip your corners
DSC_0035
Turn it right side out, and press.
DSC_0037
I like to use a knitting needle to help press the seams out.

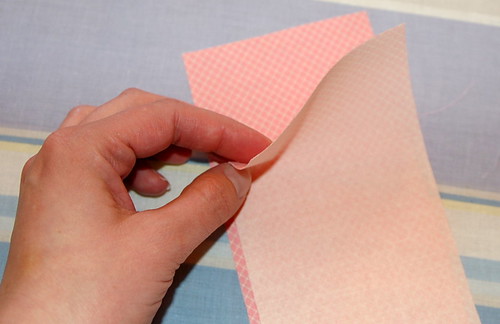
To add it to the cover, prep your interior pockets.
DSC_0038
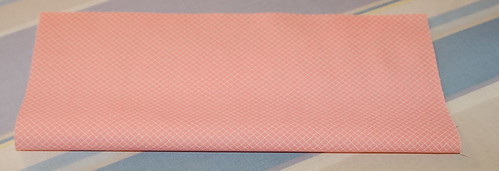
Be sure to keep your height at 11.25" and press a nice crease.
Pin your pocket an inch away from the fold
DSC_0040
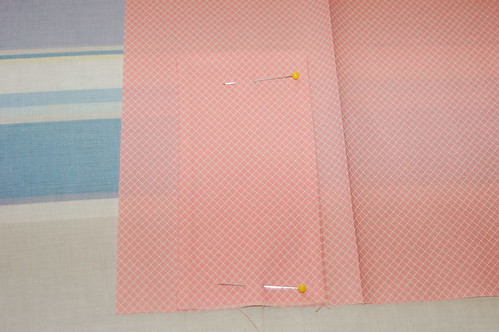
Topstitch it in place.
DSC_0041

Pulling it all together --
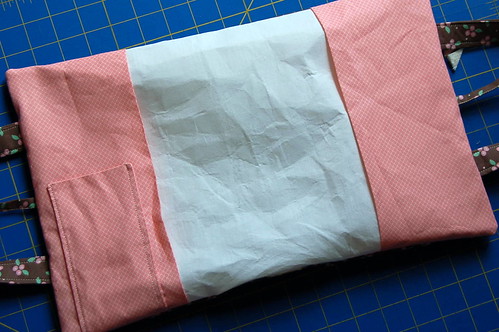
Add the interfacing to your lining piece. Time to start building! Set your lining, right side up on a flat surface,
DSC_0044
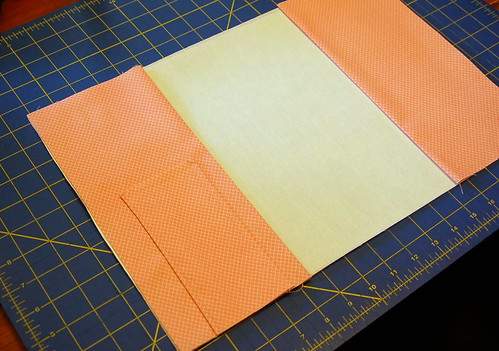
Add the interior pockets.
DSC_0045
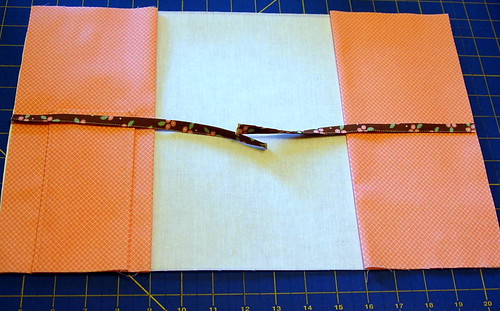
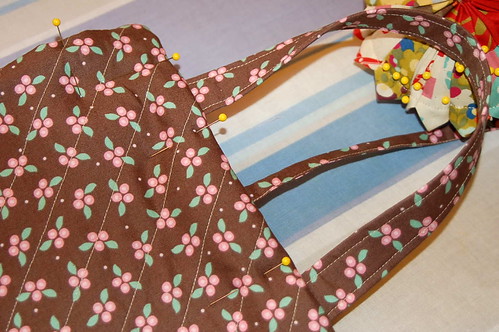
Add the ties at the center, and pin.
DSC_0046
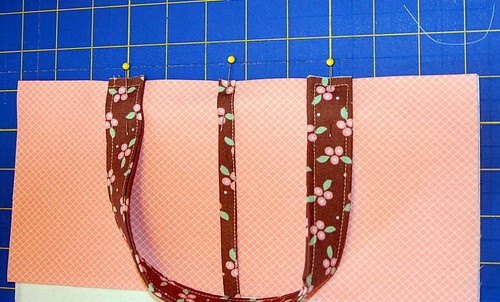
Add the handles, 5" apart is a good number for this size cover. Pin the handles in place, carefully keeping them straight.
DSC_0048
Now lay your quilted exterior piece, right side down, and pin in place.
DSC_0050
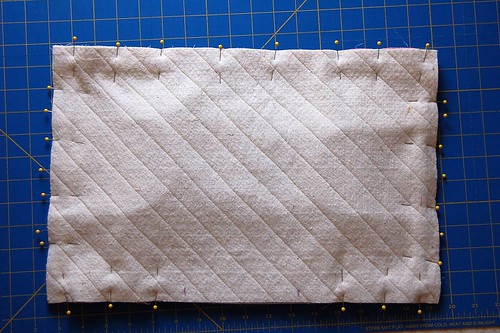
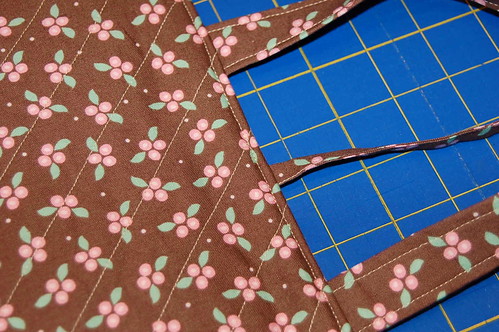
Mark an opening, about 6" in between the pockets. Sew with 1/2" seam, reinforcing at beginning and end. Go slowly over the handles.
DSC_0053
Clip your corners, and any extra bulk if possible.
DSC_0054
Begin to turn it right side out - you need to take your time as it unfolds.
DSC_0055
Use a handle to get it started.
DSC_0056
Once right side out, begin to press the seams into place. (I actually tried it on here real quick first!) Also use a few pins from the outside to keep the layers in place while topstitching.
DSC_0057
Topstitch all the way around the cover, this will close the opening you left to turn it right side out earlier.
DSC_0058

I think that's everything! There are lots of little steps, but not too complicated, I hope it all makes sense to you! If not - PLEASE let me know! I want to fix it :)
DSC_0063
Add your Bible and enjoy your new cover!
Amy

PS - I have a pdf of this tutorial available here!


-----

Subscribe to Park City Girl