
To start gather notions and fabric scraps to practice :

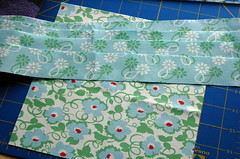
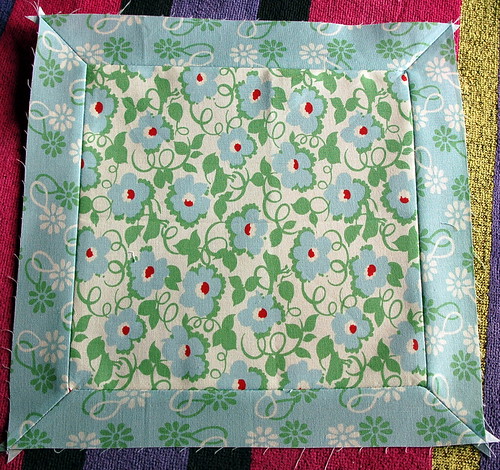
My square measures 8 1/2 inches, and the 4 strips are 1 1/2 x 12 inches. Take special note here: when making mitered corners your strip length needs to be much longer than your square, the wider your strip, the more length you need. I don't have a formula here, but when in doubt make it longer :) When I was doing this the first time on my tree skirt, I ended up making my first round of border half the width to accommodate the miter -- it wasn't long enough for the width.
On with the instructions:
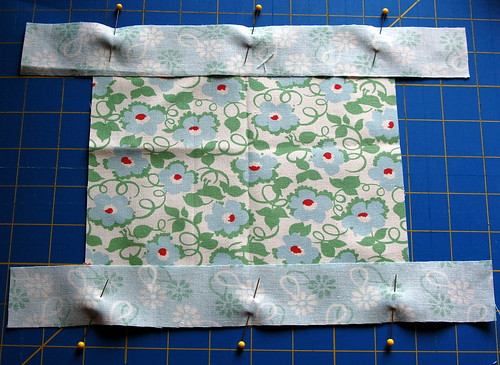
pin your strips, center on your square, on opposite sides
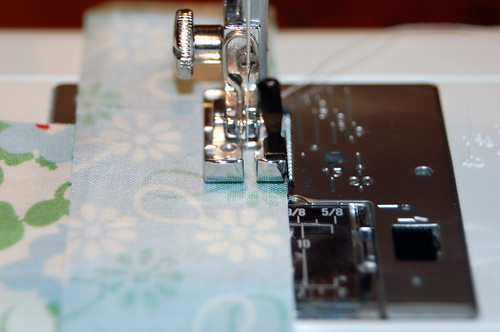
Sew with 1/4" seam -- I don't reinforce my seams at all, it may be helpful to pull out a few stitches when setting the miter.
I press open here to cut down on bulk
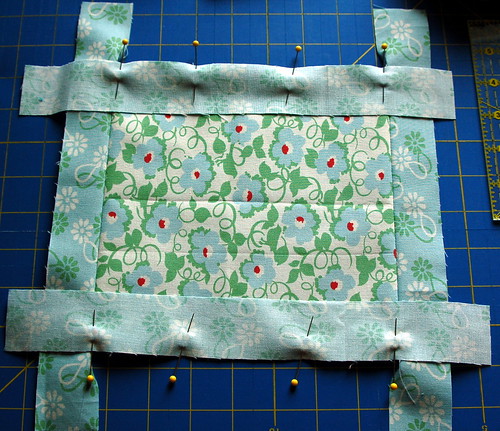
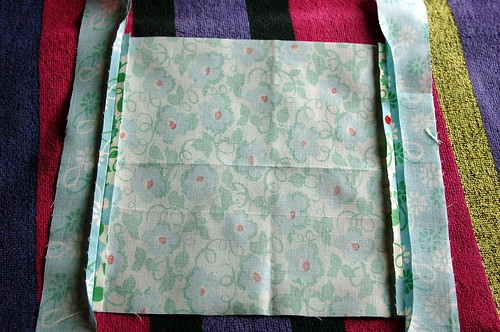
pin and sew opposite sides borders to the square
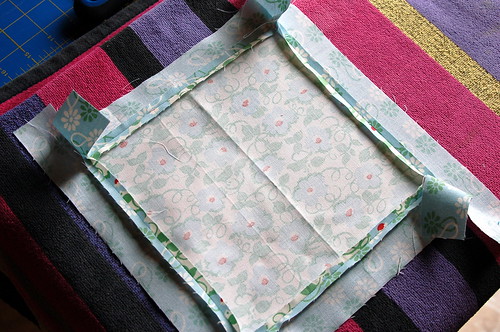
Press open again
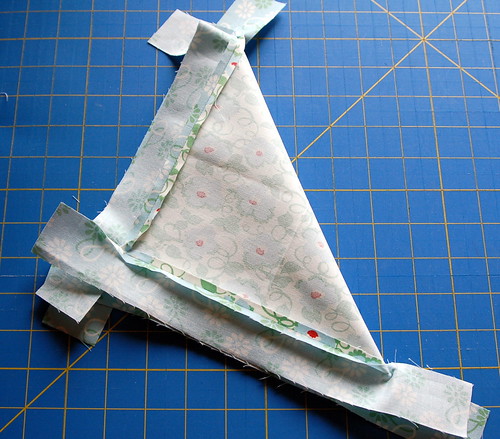
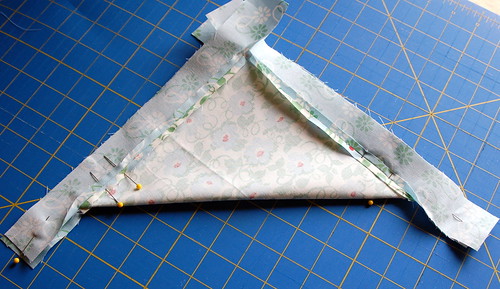
Fold your square on the diagonal, this works for rectangles too, but you would need to do one corner at a time.
Match up your seams, making sure that the corner is lying flat without excess, and pin

This is how I pin, you don't want the seams to move, and you need your tails to be secure as well
You can do both corners at once, just flip it over for the opposite corner
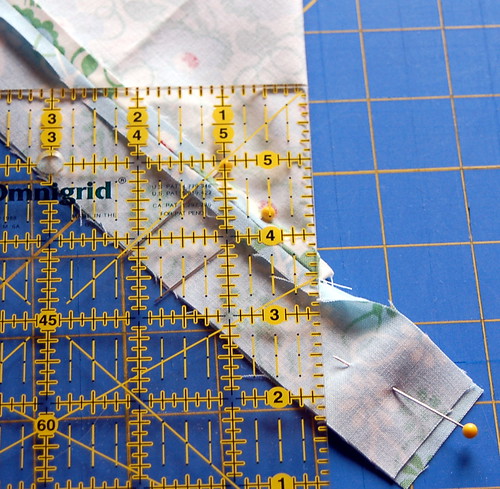
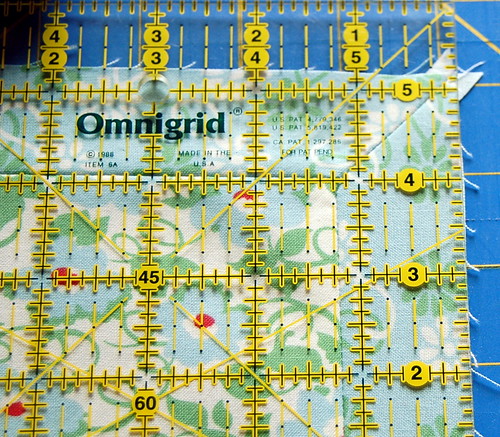
Next line up your ruler on the diagonal, and mark the sewing line on the tail, like so --
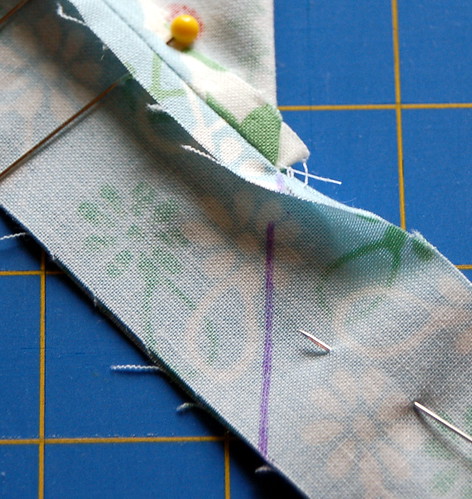
And sew on the line that you drew

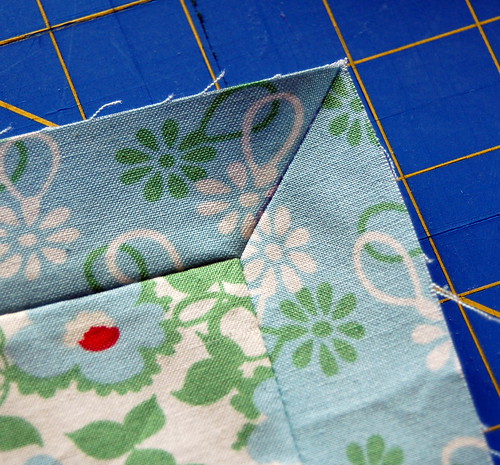
Open up your square to check your corner
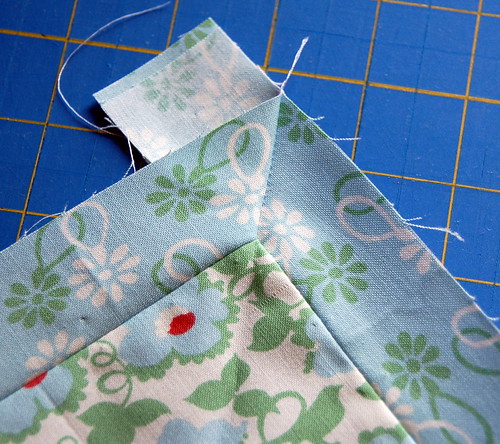
If you are pleased, trim to 1/4" seam allowance, and press, if it's not quite right just pull out your stitches and try again. Take your time lining things up :)
Now go back and fold in the opposite diagonal and repeat
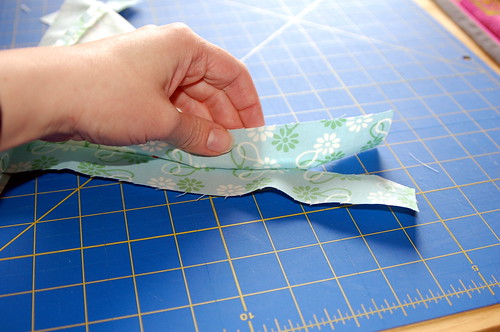
I like to trim up the extended seam allowances
You should have 4 of these!
So far I've used this technique for my tree skirt, and a few swap blocks. I envision throw pillows on the couch as the perfect project for mitered corners. Maybe that will be next :)
I also made a downloadable pdf version of this tutorial available here.
I think that's everything! Let me know if you have any questions and I will do my best to answer them :) Have a great weekend!
Amy
32 comments:
Thanks Amy. I'll bookmark it and perhaps I'll actually do mitered corners sometime. I have done them in the past...many years ago...with great frustration! I shall not give up.
Thanks for the tutorial! I was kind of envisioning this was the way you made them, but this makes it so much clearer! : )
thanks amy...i'm going to try this for sure...i've mitered a few borders, but i like your method better.
Thank you so much for this tutorial. I thought I knew how to do it, but I didn't.Thanks
This is a great tutorial. It will definitely go into my bookmarks so I can use it as a reference in the future. :)
awesome! I really want to try this on the sashing for my bird quilt! Thank you so much!
Great tutorial! There are so many ways to miter and I love your way. I will have to try this one, it makes a lot of sense. Thanks!
This is a terrific tutorial...I've already bookmarked it! My grandmother showed me this method many years ago...but I had forgotten the specifics...so thank you!
Fabulous! Thanks for the awesome tutorial! I've always been intimidated by mitered corners, but you make it look so easy!
What excellent work Amy. Thank you. The pictures really explain what you're doing.
Excellent tutorial Amy - Thanks for taking the time - You make it look so easy :) I am going to try it very soon
OMG Amy! I've never seen mitered corners done this way but now I certainly have to try it! Thank-you for this tut!! I'm seriously excited about your mitered corners!
Thanks I have always wanted to learn how to do that. I have bookmarked it. I look forward to giving it a try.
A great tutorial Amy!! Almost makes me think even I could do it :)
Thanks for the tutorial! I am going to have to try this. I have always wondered how to go about doing it.
I have never seen this explained so clearly; on top of that, you did a great job with the step-by-step photos and instructions. Congratulations!
Fabulous, Babe!!! great photography; I think I could actually follow your directions if my head was tracking properly...it's full of oil painting right now and EASTER!!!!Love, hugs and kisses, Mom
What a great tutorial! Thanks for sharing.
Great job with the tutorial, Amy. I love the look of mitred corners, but I'm always scared to try. :) You have given me confidence.
brilliant explanation, I was wondering how to do that (and what it was called)!
Thank you
Thanks for the great tutorial. That sure is so much easier than the way I have been doing mitered corners!
Have a nice day!
Wow! Great tutorial.
Thanks so much for the easy step-by-step instructions!
Kimberly :)
thanks for posting this! This is definitely one tutorial that I've never mastered :)
When I try this I will have to print this out and follow step by step.
Thanks Amy for a great tutorial...will have to give it a try.
Oh.. tanks so much for sharing.
Thank you so much. I am making a quilt for a baby shower gift. And I want it to look extra nice. The pictures really help.
I don't ever miter my corners because I've never really known how! So thanks for this tutorial! I hope you don't mind if I share a link to this tutorial on sewwhattoday.blogspot.com on March 4!
Thank you so much.... awesome.
very nice and easy to follow.
That is brilliant, thank you so much. This is like a gillion times easier than the last mitered corner project I did. Thank you thank you!
Thank you for the wonderful tutorial, I made my first mitered borders today and they look fab!
Post a Comment